One Sweete MR2 my project story
Forums » Project Logs » One Sweete MR2 my project story
 Male, Richmond, North Yorkshire
United Kingdom
Make: Toyota
Model: MR2 GTi T-Bar
Total Posts 88
"I have been meaning to do a write up for ages now so finally found some time to put this together.
My name is Si Sweete and my kid brother owns this site so I should have done this a long time ago!!
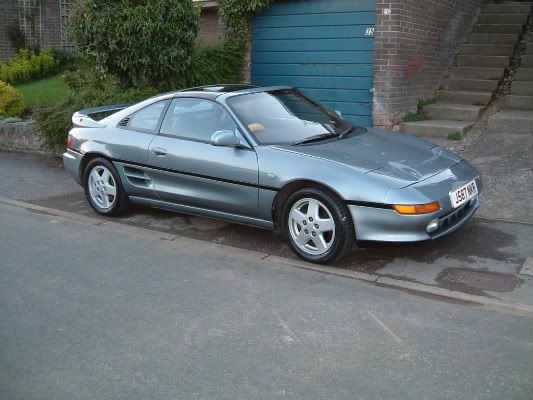
I started off in 2003 with a standard 1992 Toyota MR2 2.0 16v Gti T-Bar. The car was very tatty when I first got him so spent a lot of time on the body work and got him to this stage
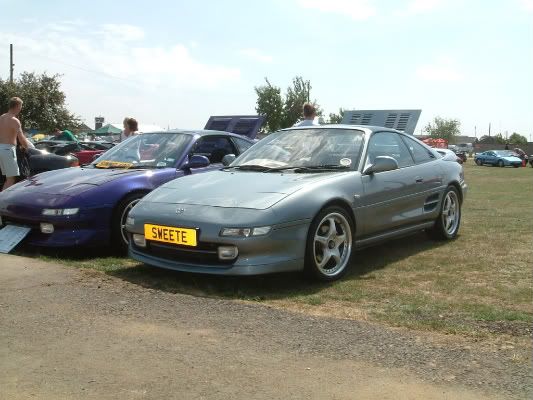
 I then decided i wanted to update the look of the car so along came a set of 17's deeper lip spoiler and I colour coded the side strips
 I then got the oportunity to take the car off the road for a time so decided to change the car slightly. After looking round I decided i wanted some side skirts change the front and rear bumpers and a respray. After some research I found that this wasn't going to be cheap. Being quite handy myself I decided to cut down on the costs by doing most of the work myself so i set to stripping the car down.
 All parts that could be removed were

 I then purchased a turbo engine lid which looked far better than the original one.
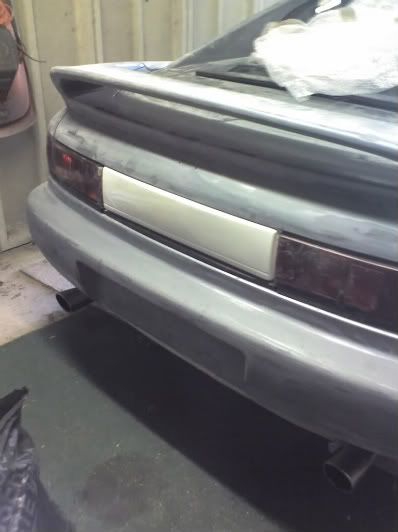
 I wanted to bulk the rear end out a bit so kept the original bumper and added some Phoenix rear spats which weren't the best fit so I blended them into the bumper.
 I also filled the aerial hole to give the spoiler a smoother look.
 I struggled finding some side skirts that kept the original side vent so I bought some bomex skirts cut the bar out of my original vents and blended it into the bomex skirts.
 These were then sanded down and mesh fitted
 Then came the hardest part which was putting a sander to the lovely glossy paintwork but it had to be done in preperation for painting also all dents and imperfections were filled and smoothed.
 I wanted to update the rear end but always liked the shape of the lights so added a smooth rear panel
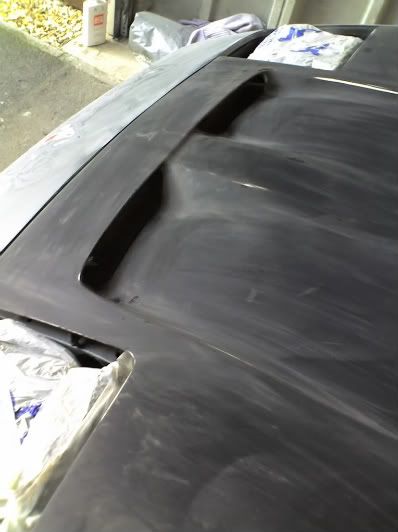
 Next was the bonnet I wanted a Carbon Fibre vented bonnet but just couldn't afford one so instead bought a fibreglass vent and cut my original bonnet and fitted and blended the vent. The result was brilliant
 While at a show I saw a car with lambo doors and really fancied them had a search round and was going to cost _Ǭ£2000 owch!! Until I found a set of hinges in Japan for a quarter of the price and decided to have a
bash and fit them myself.
First of all the front wings came off
 Then the door was taped in place and the original hinge removed
 The new Lambo hinge was then fitted
 And up she went!!
 After weeks of minor odjustments to get them lined up with the wings without catching they were done.
 The wiring loom for the door was then extended so it sould reach with the door fully up.
 Then off to the bodyshop for a few weeks for a new coat!
 I wanted a dark metalic grey and the bodyshop suggested adding a flick of gold and red to the paint which looks fantastic in the sunlight. Here he is back home ready to be put back together.
 I managed to get the car back on the road just in time for my wedding
 Then just this year I stripped the wheels down sprayed them black and polished the lips.
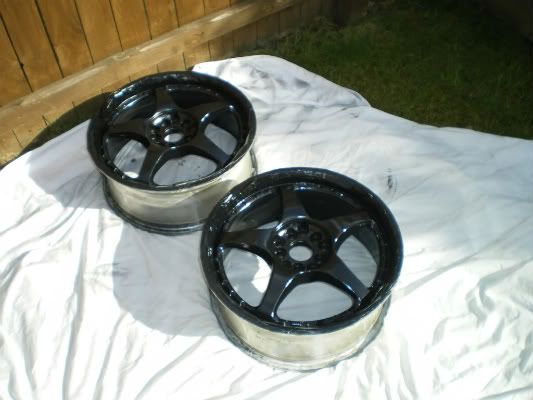 Treat myself to some new Bilsteins with TRD inserts and 40mm lowering springs and gave the car a much better stance.
So here he is now finished.
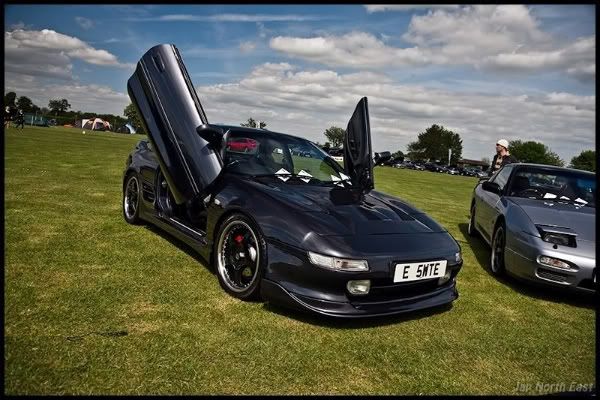 Hope you've enjoyed
 "
"
"Start on making ti faster now!
Looking good mate  "
"
 Male, Richmond, North Yorkshire
United Kingdom
Make: Toyota
Model: MR2 GTi T-Bar
Total Posts 88
"Thanks mate plan for the future is V6 transplant from a Toyota Camery witha supercharger bolted on for good measure!!  Liking your Pulsar
  "
"
"looking good bruv great to see orgininal pic to how it looks now!! def needs engine doing next though  "
"


hehe nice car hunni love the cheesy title too 

 Male, Richmond, North Yorkshire
United Kingdom
Make: Toyota
Model: MR2 GTi T-Bar
Total Posts 88
I just couldn't help it!! Wouldn't have worked as well if my surname was Smith!! 
 Male, Richmond, North Yorkshire
United Kingdom
Make: Toyota
Model: MR2 GTi T-Bar
Total Posts 88
"Not done a huge amount to the old boy recently but needed a new exhaust last month for it's MOT so thought id treat myself and go all out!!
Ordered a Japspeed stainless steel Manifold:
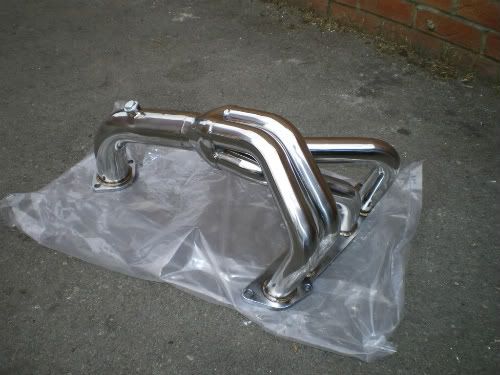 Japspeed stainless steel down pipe and Flexi
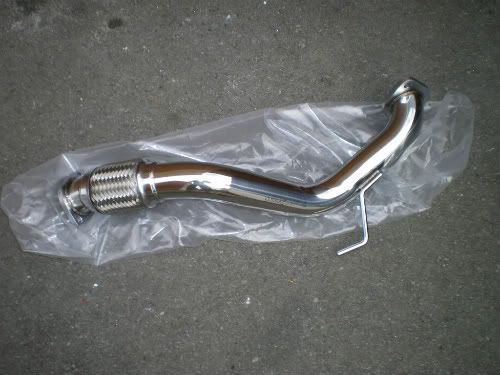 and Japspeed stainless steel de-cat
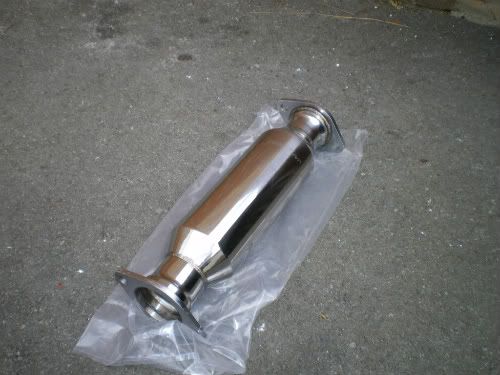 Now I couldn't really find a back box that I liked for the car so went to Powerflow in Newcastle to have one made up to my spec to fit all my new shiny bits!!
First all the heatshields were removed:
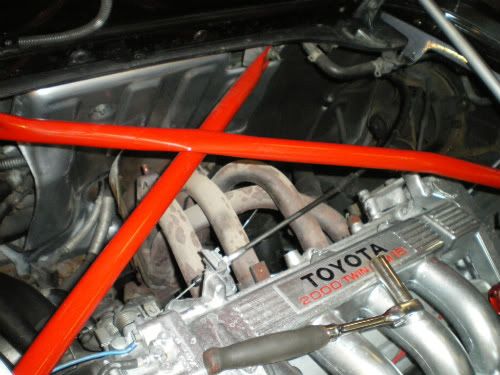 Then the old rusty system removed - this took a long time due to everything being seized solid!
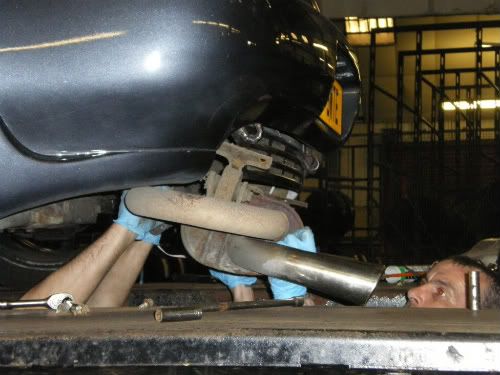 Old box off
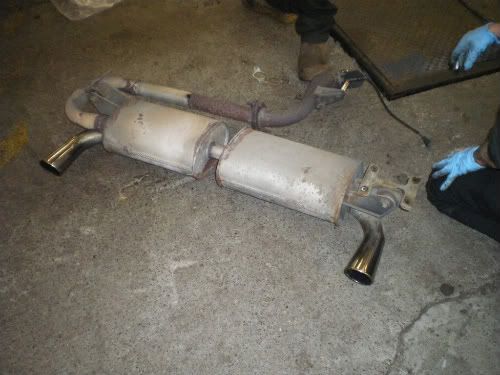 New S/S Manifold fitted
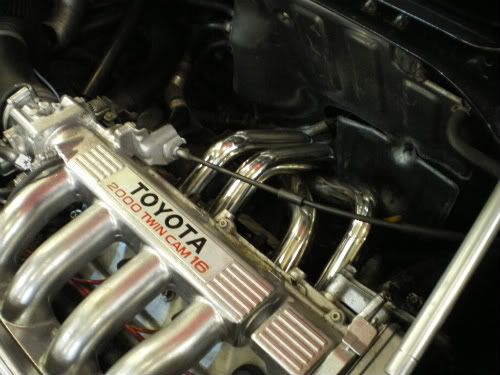 Downpipe on
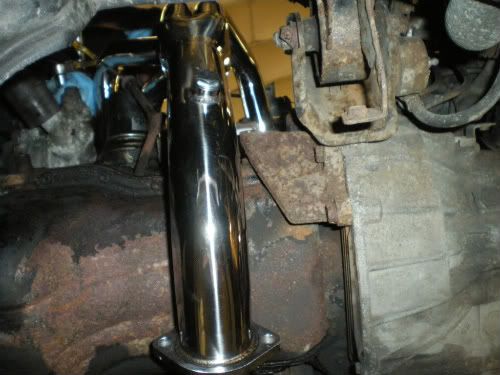 Then the fun starts building up a back box
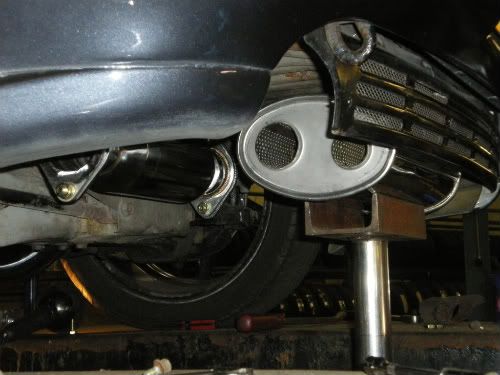 first pipe on
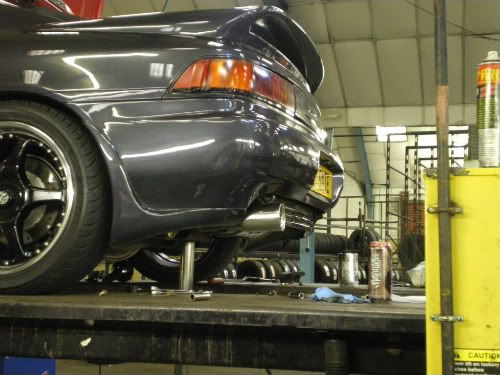 and finally after nearly a full day all fitted
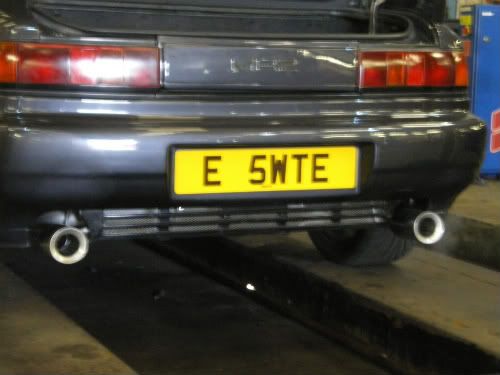 A huge thanks goes to Lee at Powerflow for his patience as every bolt was seized and needed heating then the tig-welder decided to pack up! But worth the hard work system sounds fantastic very deep and not too loud either the car seems to pick up better too.
"
looking good there bruv  look forward to seeing how it sounds.


i like it  looks sexy


